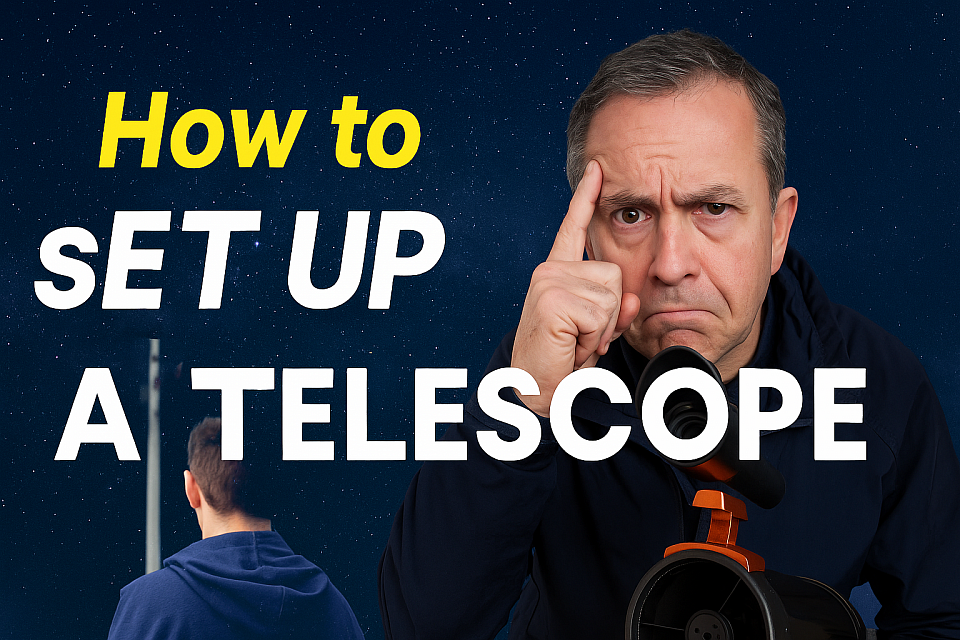
How to Set Up Your Telescope – Step-by-Step for Beginners
📦 Unboxing and setting up your telescope
“Just unpacked your telescope and don’t know where to start? This easy-to-follow guide will walk you through setup, alignment, and first observations — no stress, no jargon.”

Choose the Right Spot to Set Up Your Telescope
Picking the right location is just as important as having the right telescope.
For the best stargazing experience, follow these tips:
- Choose a flat, stable surface to avoid any shaking or tilting.
- Stay away from streetlights, car lights, and other sources of light pollution.
- Look for open skies — avoid trees, rooftops, or tall buildings that can block your view.
- Let your telescope cool to the outdoor temperature before observing — this helps with clearer, more stable, views.
🗺️ Pro Tip
Use apps like Light Pollution Map or SkySafari to scout dark sky sites near you.

🔧 Check and Assemble Your Telescope Parts
📦 Before you begin setup, make sure you have all the necessary components. Most beginner scopes come with:
- Optical tube
- Tripod or base
- Mount (Alt-Az or EQ)
- Finderscope or red-dot finder
- Eyepiece(s)
- Diagonal (for refractors)
- Mounting screws or clamps
🛠 Pro Tip:
Lay everything out on a clean, flat surface to avoid losing parts. Don’t force anything — most telescope parts twist or slide gently into place.
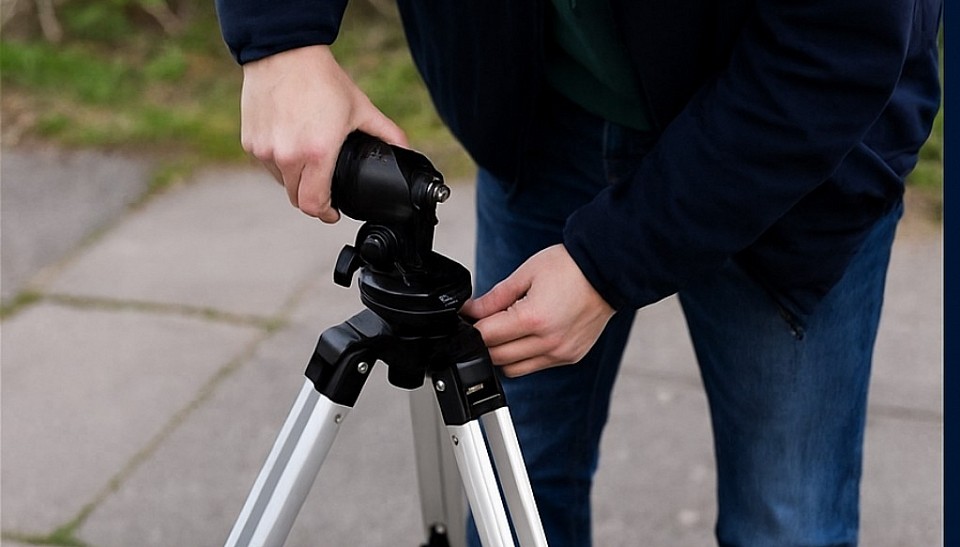
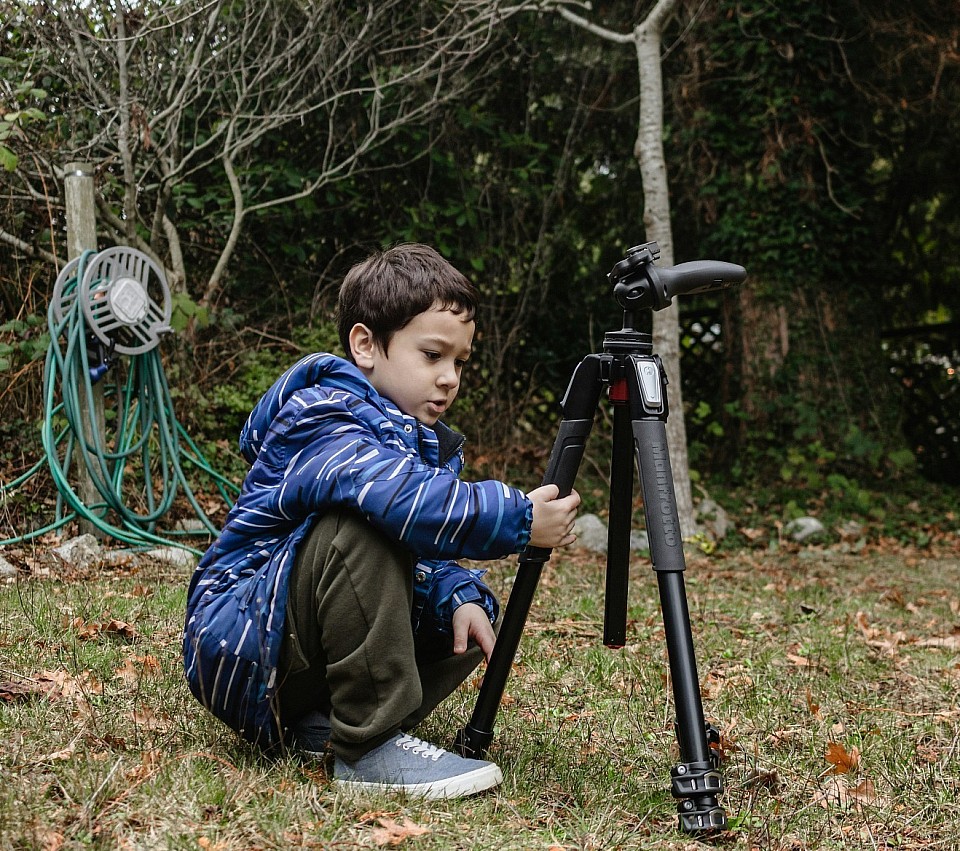
Step 1: Set Up the Tripod and Mount
Start by placing your tripod on a flat, stable surface. Spread the legs fully and adjust them to make the top level — this is crucial for a steady view.
Most tripods have a built-in bubble level or can be checked manually using a phone app.
Next, attach the telescope’s mount to the top of the tripod.
This might be an alt-azimuth (up/down + left/right) or equatorial mount, depending on your telescope type.
Follow the manufacturer’s guide for any screws or locking bolts.
📌 Tip: Tighten all bolts just enough to secure the mount without over-tightening, which can cause alignment problems later.
Step 2. Insert the Eyepiece and Finder Scope

Attach the Telescope Tube
Carefully place the telescope’s optical tube onto the mount you installed in Step 1.
Most telescope tubes attach using mounting rings, a dovetail bar, or a saddle plate.
Position the tube so it’s balanced front-to-back — this helps with smooth movement and stability.
📌 Tip: Don’t overtighten the mounting screws — they should be snug, not forced.
This protects both the mount and the telescope tube from strain or damage.
Check your telescope’s manual for any specific guidance on orientation or hardware.
Step 3: Insert the Eyepiece and Finder Scope
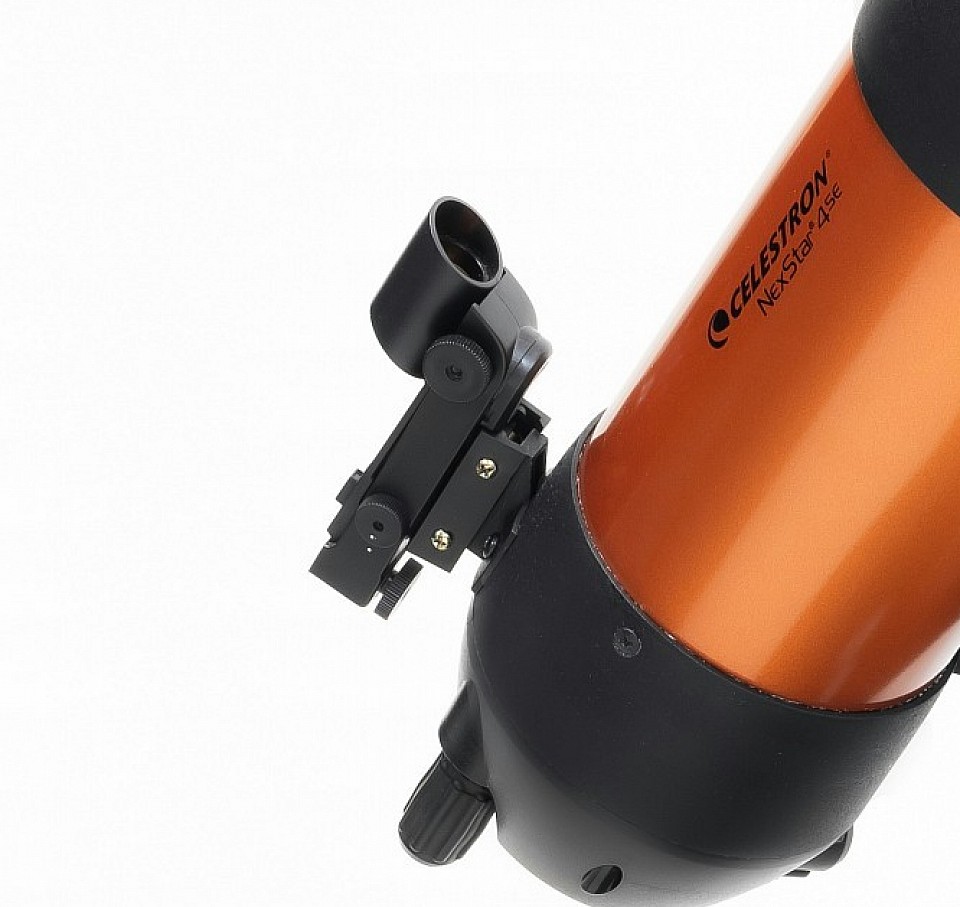
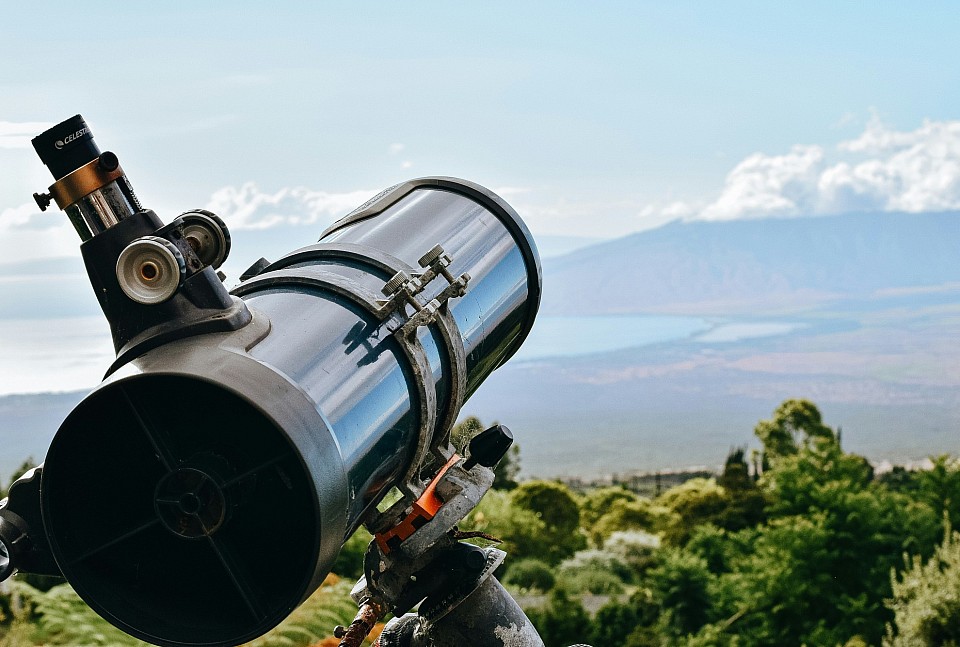
Install the finder scope (or red dot finder) on top of the optical tube. This small device helps you aim your telescope by providing a wider field of view.
Next, insert a low-power eyepiece (usually 20–25mm) into the focuser. Secure it using the small thumbscrews.
🔭 Tip: Always start with the lowest magnification — it gives the widest field of view, making it easier to locate objects in the sky.
Make sure both the finder scope and main telescope are pointing in the same direction by aligning them during the day. (More on that in the next step!)
Step 4: Align Your Finder Scope. (Do This During the Day!)
Before stargazing, align your finder scope with the main telescope.
This step is best done in daylight.
1. Point your telescope at a distant stationary object — like a chimney, lamp post, or tree.
2. Centre that object in the main telescope’s eyepiece using the slow motion controls.
3. Without touching the main scope, adjust the finder scope’s crosshairs (or red dot) so it points at the same object.
Now, both scopes are synced — so when you aim using the finder, your target will appear in the main view!
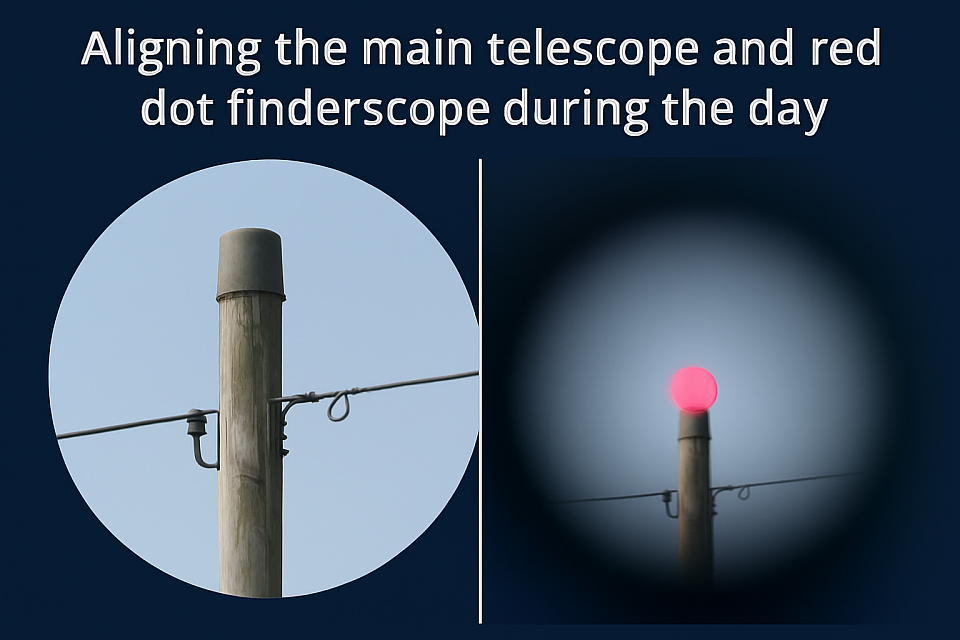
A composite image showing a side-by-side comparison: on the left, a distant object (the top of a telegraph pole) as seen through the telescope; on the right, the same object aligned within a red dot finder’s sight, demonstrating how to use the finder to aim the telescope.(Image generated by ChatGPT using OpenAI’s image tools.)
Attaching the Eyepiece and Focusing the Image
Now it’s time to bring your telescope to life! Here’s how to attach the eyepiece and achieve a crisp, focused view:
🧩 Choose a low-power eyepiece first (usually marked 25mm or 20mm). These are wider and easier for beginners to use.
🔄 Insert it gently into the focuser — twist the locking screw to secure it in place.
🌀 Point the telescope at a distant object like a rooftop chimney or tall tree to begin with (not the Sun! ⚠️).
👓 Turn the focus knob slowly until the image becomes clear. Be patient — fine-tuning can make a big difference.
🔁 Try switching to higher-power eyepieces (like 10mm or 6mm) once the object is centered and focused. You’ll zoom in for more detail!
💡 TIP:
If your image is blurry, double-check that the telescope is focused and the target is centered in the finder scope 🎯.
✅ Once you’ve done this, your telescope is now ready for its first look at the stars! 🌟
You’re All Set – Let the Stargazing Begin! 🌟
⚖️ Balancing the Telescope (for EQ mounts)
If you cover Equatorial (EQ) mounts, a quick section on how to balance the counterweights and align the axis is useful.
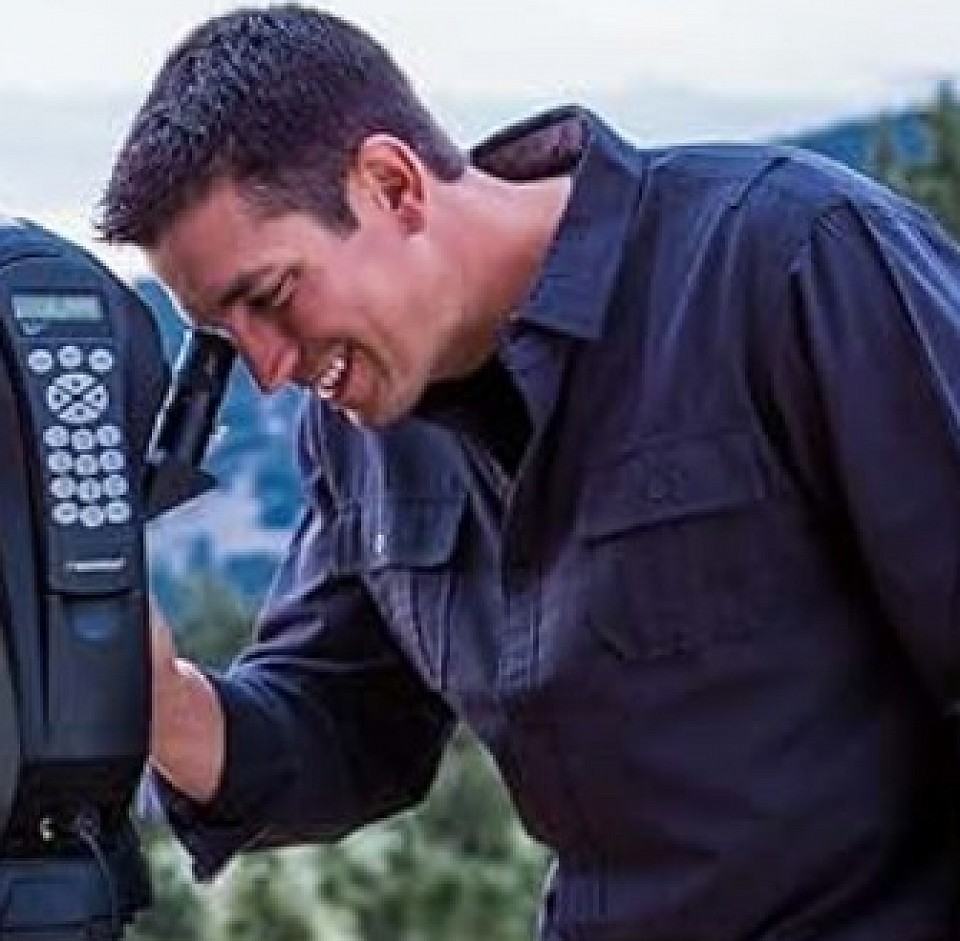
📍 Aiming and Tracking Celestial Objects
How to use slow-motion controls or manual nudges to follow stars or planets across the sky.
🌌 First Night Checklist
A fun, beginner-friendly checklist to make sure they have everything ready before heading outside:
Warm clothes 🧥
Red flashlight 🔴
Star map or app 🗺️
Fully charged devices 🔋
Patience and curiosity 🌠
You’re All Set – Let the Stargazing Begin! 🌌🔭
Your telescope’s ready, your eyepiece is in – now point it skyward and start exploring.
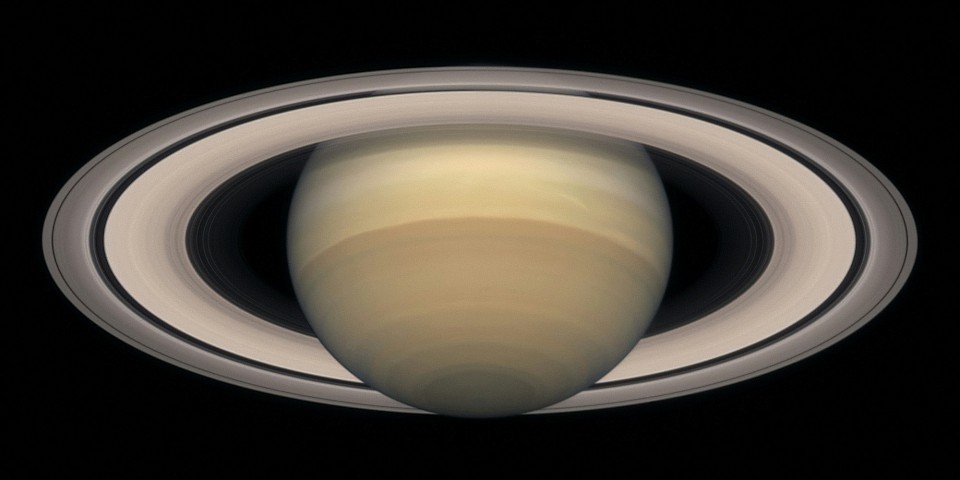
Look for the Moon, bright planets like Jupiter or Saturn, or dive into star clusters and nebulae.
✨ The universe is waiting for You !
Explore our Night Sky Guide or check out the Best Targets for Tonight to begin your adventure!
🚀 Watch the Step-by-Step Telescope Setup Guide